
First off you of course need supplies:
- Printable Shrinky-Dink plastic (I got mine at Hobby Lobby)
- An ink jet printer (not laser ie heat printing)
- Image files
- Software to lighten the images
- A hole punch
- Jewelry wire
- Jump rings
- Pretty beads
- Magnetic closures (optional)
- Patience (not optional)
To start you'll need to prep your image files to be printer-Shrinky-Dink-ready. You'll want to estimate the final piece(s) to be about 30% of your starting size. I printed pictures sized so I could cut pieces that were 2.5 inches round and they shrunk to about the size of a dime. Your image files need to be lightened quite significantly as well because when they heat and shrink they darken. This was a bit of trial and error for me especially since I had a range of pictures and colors/darknesses. In the example below you can see the second image looks very washed out - I'd make it even lighter if I were to print and shrink it again. Don't be afraid of the light(ness)!

The Shrinky-Dink package has directions for lightening - about 50% should work. You can make transparent in Photoshop or I found www.splashup.com to be a nifty option as well.
Once you have your files set, be sure to print a test sheet on regular paper in case you see something isn't how you're expecting it. I get a little impatient with the prep work myself but that just leads to rework. I cut my printed image on my Cricut but you could of course do it by hand or use another type of cutting machine. I'll put the settings details at the end of this post for anyone who is interested. NOTE that I cut a 'charm' shape that included a little top 'loop'. That allowed me to attach the finished piece. If you cut by hand you'll need to punch a hole (regular paper punch is fine) BEFORE you bake or you'll end up with a disk and no hole for your wires!


And here's what I got:
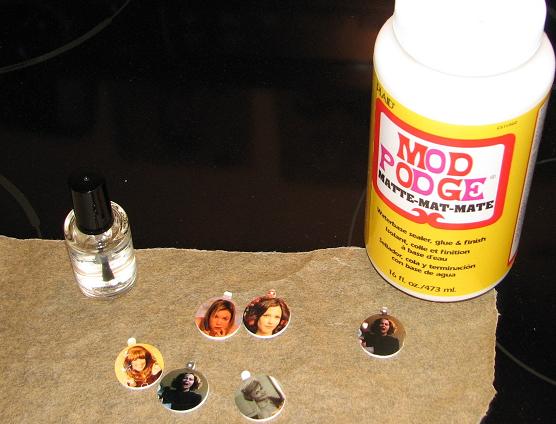
Next up - building the charms. I attached a small jump ring to each of the charms. Then I cut pieces of stiff wire (about 3 inches depending on how large you want your charm to be) and bent them into a ring. I bent one end of the wire into a small loop, hooked on one end of the magnetic clasp and tightened the wire around the clasp end. Next I strung on a small bead, two larger beads, the charm, two large beads and a small bead. Of course you can design yours however you please. To finish it off I bent the other end of the wire and hooked on the other end of the magnetic clasp. Make sure everything is bent together nice and snug and you've made yourself (or a friend) a cool charm!


Cute eh? Despite my occasional FAIL as I worked through the details it was really fun to make these. A set for Mother's Day with "All-Time Best Moms" might be cute - June Cleaver (of course), Mrs Cunningham, Shirley Partridge, Carol Brady and of course your own Mom!
So my lessons learned are as follows:
- Test and retest the images on regular paper before printing on the plastic. It's too expensive to waste as much as I did! ;-)
- Test your shape and size so you know how much shrinkage there will be, my first charms were too big.
- Decide on and practice your cutting method and shape. The Cricut is a GREAT option but I had to work on blade placement to get the images properly positioned.
- If you don't know anything about jewelry making ask someone who does what wire to use (and make sure your beads will fit on your selection). I used memory wire which was a good stiffness and size but hard to shape.
- If you don't want to use the magnetic clasps just bend the wire ends into hook shapes that can link to each other.
Have fun, be creative - Shrinky Dinks ROCK!
Cricut Settings:
- Doodlecharms Cartidge
- Charm round
- 2.5 inches
- Low/Med speed
- High Pressure
- Center (be sure you determine the center WITH the charm top loop in mind)
- Multi cut (two times through worked fine)
Email me if you have any questions! Please send a picture if you try this or something similar yourself!
I didn't realize one was mommy dearest the other night LOL
ReplyDelete